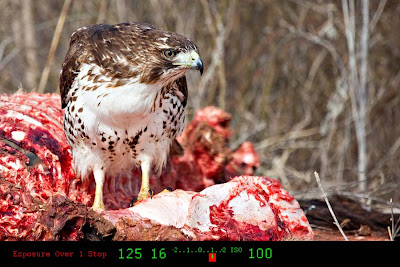
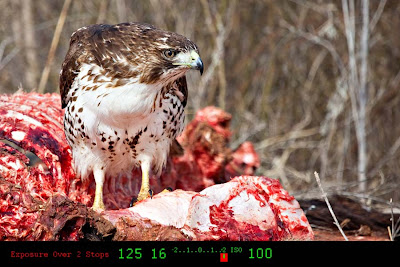
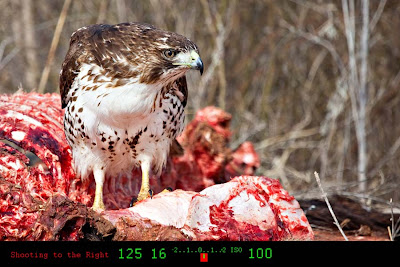
I am making this tutorial in hopes that all of you may have a better understanding of "Equivalent Exposure" and how you may want use it by switching your camera mode from "Auto" to "Manual." When you start shooting in manual you will be able to unleash the creative beast inside you. (Your camera's "Program or Auto Mode", has no idea what you shooting style is or how you want to use the actual image you are trying to create, that is why it is important as an artist to create your own work, not just let your camera capture a scene.)
"Equivalent Exposure" in short, is saying that there is more than one way to climb a tree.
I am going to show you how it works with some diagrams, and then I am going to have you get your camera out of the bag;
as well as go outside and play with me for a little while.
I promise if you do this lesson with me, you will walk away with a better understanding of "Equivalent Exposure" and why it is important as an artist to have this creative knowledge.
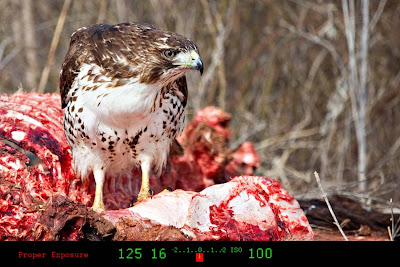
*In our last tutorial you learned how to make a "Proper Exposure" for a given subject.
**You know how to read the light meter and know what the "Meter Exposure Indicator" is telling you as you are looking through the view finder.
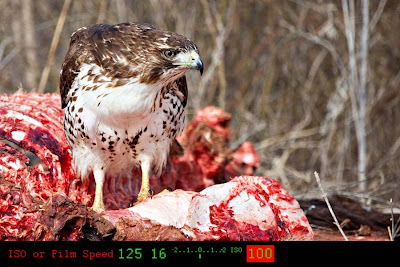
Lets look at a simple exposure on an illustration I made, It shows you the "Marriage" of the proper exposure. In this Diagram you have all three elements of a proper exposure, Shutter Speed, F-Stop, and ISO.
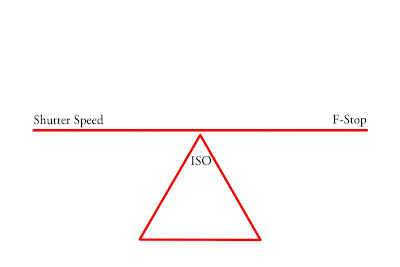 Now the fun part, "Equivalent Exposure". Equivalent Exposure in simple terms, means that you can change the several settings, ie the Shutter Speed, F-Stop, or ISO and still have the "Proper Exposure" for the same scene. I want you to take note that in the diagram I made, the Shutter Speed and the F-Stop are on what appears to be a see-saw.. I did this on purpose.
If the Shutter Speed Goes Up, the F-Stop should go down, by doing this you are still going to have a Proper Exposure.
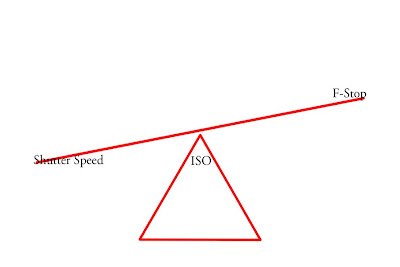
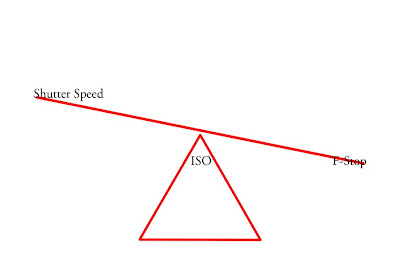
Now lets add some real life numbers in this illustration so you have a better grasp of how the see-saw works with the numbers inside your camera.
I have done this illustration with a typical Bright Cloudy Day, IE, clouds are up, but not so thick its going to start hailing on us. Just a smooth light from the soft filtered clouds.
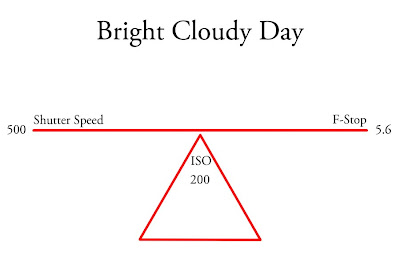
This is a typical setting the camera may pick for you in full auto mode.
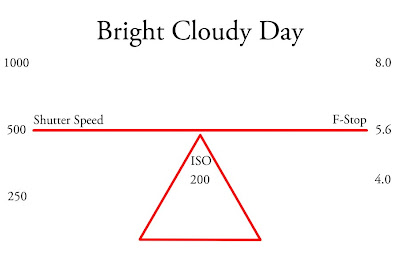
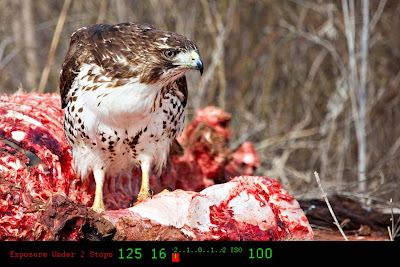
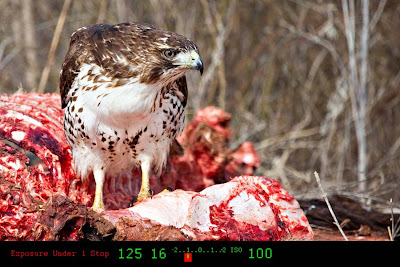
In the following illustrations I am adding two more options that will give you a "Proper Exposure"
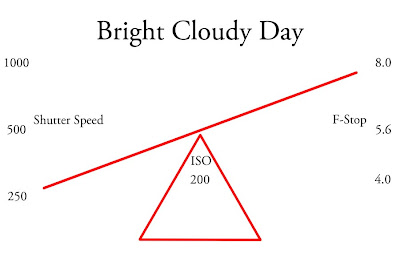
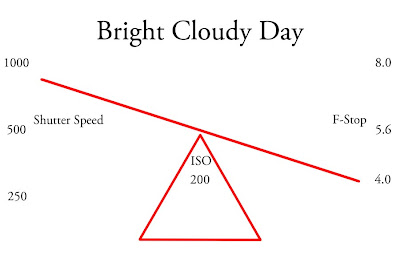 These last two images show you how the see-saw works. If one side goes up, the other side goes down.
**Hands on part of the tutorial.
****1. Go get your camera out of the bag and go out side for a while. Here is where it is going to start clicking for you.. (Notice I said Clicking.. heheh I crack myself up sometimes.. ehehehhe)
2. Go outside and pick out something stationary like a fence row, a side of a building, a row of cars, or anything with some repetition involved.
3. Put your camera in Manual mode and open your F-stop to as wide as your lens will go, Mine is F2.8 so that is where we will start in my example images.
(SIDE NOTE: I also put my camera on a tripod for this illustration to give you a better idea of how this all works. You will see that the first couple of images have a very shallow depth of field and as we move through the scale it will become a larger depth of field.)
4. Focus on something close to your lens, like the start of the fence, and make sure you can still see the other part of the fence in your view finder, (It should be going away from you.) (If I lost you look at the pictures below for a better example of what I am asking you to do and focus on.)
5. You have the front of the fence in focus, F-Stop as wide open as your lens allows, now adjust your shutter speed until the Exposure Level Indicator in your camera says that the images is a "Proper Exposure." Now click the shutter to capture the image.
6. Next, roll your F-Stop wheel three clicks to the right, and the shutter speed three clicks to the left. (Remember the see-saw image, if one goes up the other must go down.)(3 clicks is one full F-Stop)
7. Do this until you get to the smallest F-stop your lens has. (Mine stopped at F22)
I have included examples of the 7 steps below, I have also listed the Shutter Speeds and F-Stops along with the ISO of every image taken for this tutorial. Again, I placed my camera on a tripod so you know I was not moving my camera. I want you to see how the F-stop affects your Depth of Field.


As you look through your images you will see that the "Wide Open" F-Stop or Aperture has a very shallow depth of field. I think I focused on the Second Full Picket of the fence, it is in focus and almost all the other pickets are from soft to out of focus,.
As you look towards the center, there is more of the fence in focus and at F22 A good portion, if not all of the fence is in focus.
These 8 Images have an "Equivalent Exposure", They Are all Properly Exposed and the only real difference from them all is the Depth of Field.
This is a good spot to ask me why it would matter.?
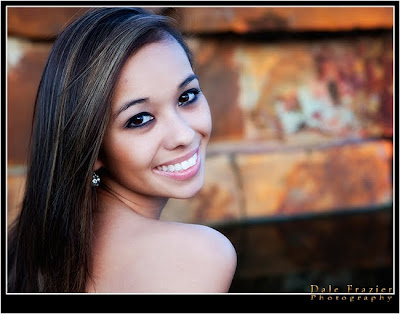
I am glad you asked, Lets Say for example your assigned a photography session with a beautiful young model.
You decide to have the session outside. You want the entire image to concentrate on her beauty and you don't want a dork in the background making rabit ears. behind his buddy who has somehow seen you and wants to be in the picture now. (Trust me this happens.)
Open your F-Stop up to get a shallow depth of field just like our starting point was in this tutorial.
Now focus on your subject and capture the image.
It should look something like this. (Image Captured in front of Bass Pro Shops, in Oklahoma City)
Next Question, I don't like photographing people I am more of a Nature Photographer, how will that make a difference for me?
Ok do the same thing but pic out a flower for your test shot, using the same setting we talked about above for the glamor model.
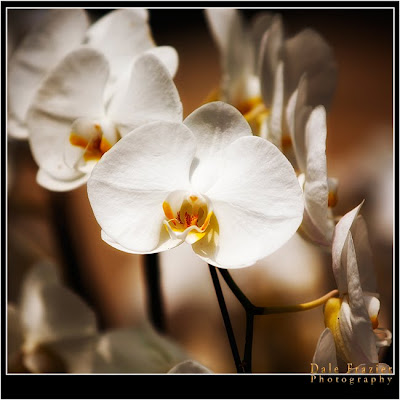 Notice how the back ground is a nice smooth blur, no distractions in the back ground. The background creates a gentle back drop for the subject, and you cant hlep but to focus your attention to the subject, in this case an Orchid. (Image captured in Okinawa Japan)
Next I wanted to show an image with a kind of middle of the road depth of field and I pulled out one from this past fall.
It is a Sunrise and the ducks flew by right as I was getting the scene in focus, very lucky on my part.
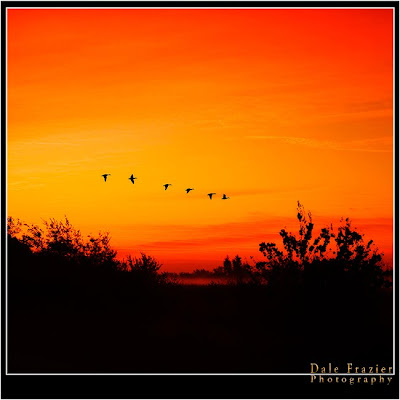
For this next image, I want to take you back to the tutorial I did entitled "Focusing Tips"
I told you that as a general rule for hand held focus, keep your shutter speed at least as high as the number in mm as your lens is, IE a 400mm Lens, you will want your Shutter Speed to be at least 400.
Now, For those of you who actually went outside and did this tutorial, did you notice as you got to F16 or F22, your shutter speed was almost too slow to hand hold..?
I did, that's another reason I put my camera on a tripod, If you notice in the example of my F22 shot, My shutter speed is at 1/20, and my lens in a 70mm. Had my camera been handheld, the image may well be blurry.
I will address the ISO Question right here before we move on. Remember there are three elements to a proper exposure, so far we have looked at 2, Shutter Speed and F-Stop. If the camera shutter speed is too slow to handhold, you could bump the ISO up to gather more light. Since the ISO I was Shooting was 200, if I moved the ISO up to 400, I could now shoot with a shutter speed of 1/40 in stead of 1/20, remember the amount of light doubles for every full stop.
Why would you ever want your shutter speed that slow then you might ask..?
I am glad you asked,
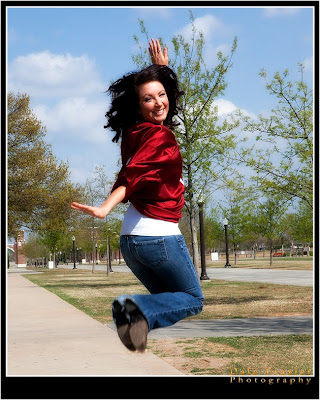
If you are trying to Show Motion in a image and you have a fast shutter speed, you may well have a cool shot with a girl up in the air.
One more quick question, you at the river on a full sunny day, you want to blur the river, but you cannot get your shutter speed down to a full second or even more time to blur the water with out over exposing the image. Look at your camera manual, some of the Canon Cameras have the option to expand the ISO, Search for ISO Expansion in your manual. It will allow you to go to ISO 50, that will give you more time. (I am not going to go into filters in this tutorial, it is off topic, but look for more down the road.)
After reading this, I hope you have actually gone out to try the techniques that have been discussed in this tutorial. If you are new to Manual Mode, I hope that this has been helpful as well as motivating you to go out and shoot some more in manual mode.
I will probley write a short tutorial on the AV and TV modes in a few more days; But for now, I would like for you to go out and shoot some more in manual.
I am also hoping that you now have a better grasp on "Equivalent Exposure," and what that term means.
Enjoy your weekend, Go out and shoot in manual and upload some more fantastic works to our group.
Again a quick reminder, I do not have a staff or secretary who will double check my work, spelling etc, do if you see a mistake, shoot me a note and I will fix it.
As always, Thank you for your comments.
Dale


